

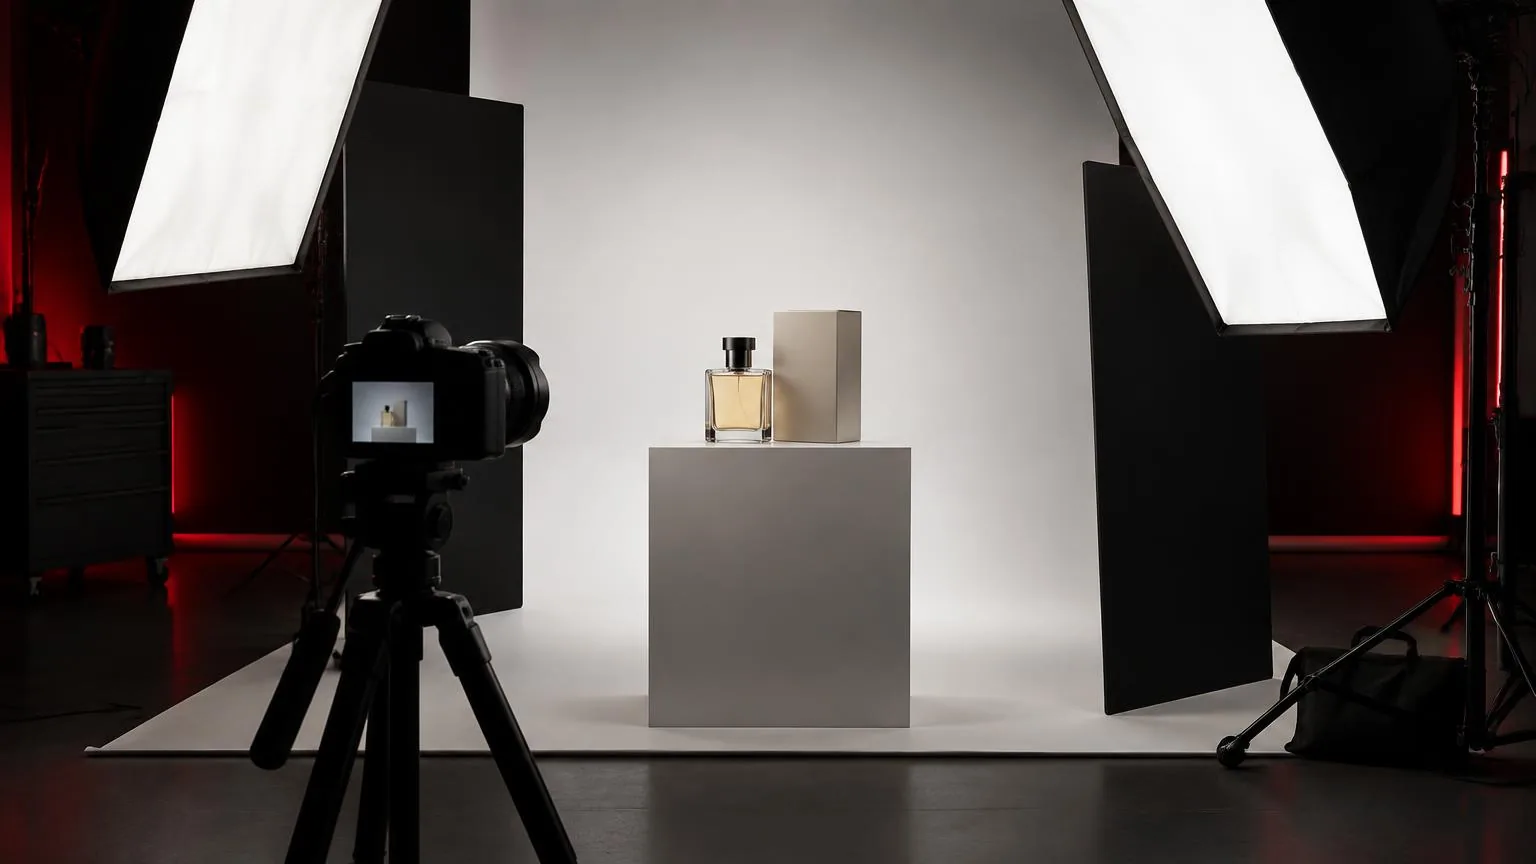
Glossary: Photography
Softbox
A light modifier that presents a larger diffused emitting surface to control shadows and reflections.
Definition
A softbox is a light modifier that encloses a lamp or flash behind a reflective interior and one or more diffusion surfaces. It creates a controlled emitting area whose apparent size and position influence shadow softness, reflections and light distribution.
How a softbox works
Light enters the modifier from a compatible flash head or continuous fixture, reflects within the enclosure and passes through the front diffusion panel. Some designs include an internal baffle that helps spread the light before it reaches the outer surface. The result is a larger visible source than the bare lamp, although illumination across the panel may not be perfectly even.
Softness depends mainly on the source's apparent size from the subject's position. A large front panel placed nearby can wrap around facial contours and create gradual shadow transitions. Move that same modifier much farther away and it occupies a smaller angle, making the light relatively harder. The word softbox describes a modifier design, not a guarantee that every placement produces soft-looking light.
The modifier also changes the direction and spread of illumination. Its enclosure limits some sideways spill compared with an open diffusion sheet, while the front panel remains a broad source. A recessed front or an added grid can further constrain where useful light travels. These controls influence the room and background as well as the subject, so assess the entire frame after positioning.
Why size and distance matter
A softbox helps create predictable transitions between lit and shaded areas. This can make skin, fabric and curved objects easier to describe without abrupt shadow edges. It does not automatically remove texture or reflections. Direction still matters: a broad source placed to the side can reveal surface relief, while the same source close to the camera axis may make that relief less noticeable.
Distance affects both softness and how brightness varies across the set. A nearby source may produce a pronounced difference between the near and far sides of a group or object. Moving it farther away can improve relative exposure consistency across that depth, but also makes the source appear smaller. Choosing a larger modifier can help balance these competing needs when the working space allows.
The front panel becomes visible in reflective surfaces and eyes. Its shape may appear as a rectangular reflection on packaging or a catchlight in a portrait. Those reflections can be useful design elements, but they need deliberate placement. If a reflection covers a label or obscures an eye, changing the light angle is often more effective than simply reducing the fixture's power.
Choosing shape, control and placement
Rectangular, square, strip and octagonal designs offer different emitting shapes and practical footprints. A narrow strip can create a controlled highlight along a bottle or body edge, while a broad rectangular panel may suit a larger portrait area. Shape alone does not determine quality. Compare the actual dimensions, diffusion arrangement, mounting system and usable placement in the space rather than relying on a product label.
A fabric grid restricts off-axis light and helps keep illumination away from backgrounds or nearby surfaces. It does not turn the panel into a focused spotlight, and it does not inherently make the source harder. Feathering offers another control: aim the modifier so the subject receives light from its edge rather than its central axis. Test the resulting gradient rather than assuming uniform brightness.
- Check that the mount, speed ring and modifier are compatible with the selected fixture before assembly.
- Follow the manufacturer's heat and clearance guidance, particularly when using continuous lights or enclosed modifiers.
- Support the load with a suitable stand and secure it against tipping without obstructing working routes.
- Inspect the front panel for uneven seating, damage or contamination that could affect the emitted light.
A practical UAE portrait setup
A photographer sets up a temporary portrait area in an Abu Dhabi office. The room has pale walls, limited depth and a background that should remain darker than the subject. A medium-sized softbox becomes the key light, positioned above eye level and to one side. Before adjusting power, the photographer checks its distance, facial shadows and the amount of spill reaching the wall.
- Make a test frame with the softbox alone to identify the shadows it creates.
- Move the modifier closer or farther while keeping the desired framing, then compare shadow transitions and exposure variation.
- Feather the light or add a compatible grid if the background receives too much illumination.
- Check glasses, catchlights and the far cheek before introducing any fill light.
- Record the final stand position and source orientation so later portraits can be matched.
The pale room may already provide substantial reflected fill. Adding another lamp immediately could flatten the portrait and brighten the background unnecessarily. A black panel on the shadow side may be the more useful adjustment. This example shows why a softbox must be evaluated as part of a room, subject and camera relationship, not as an isolated promise of flattering light.
Common mistakes and practical checks
The most common misconception is that a softbox always gives soft light, regardless of placement. A small modifier across a large room can still produce distinct shadows. Another mistake is buying the largest available model without considering ceiling height, stand stability or access. A modifier that cannot be positioned accurately is less useful than a smaller one that fits the actual working environment.
Do not confuse softness with low contrast. A large source can create soft shadow edges while leaving the unlit side quite dark if little light returns from the surroundings. Conversely, a smaller source in a bright room may produce hard edges but relatively open shadows. Control these properties separately through source size, direction, room reflections and the use of additional illumination or negative fill.
For product photography, inspect reflections at the final camera angle before committing to a setup. For portraits, check eye visibility and facial shape across the subject's expected movement. Finish with a practical safety review: cables, stand feet, locking points, heat clearance and the modifier's clearance from people. Reliable light shaping includes keeping the setup stable throughout the session.
Frequently asked questions
Does a larger softbox always create softer light?
Only relative to its distance and the subject. Apparent source size determines softness, so a large distant modifier can act relatively small.
Is a softbox only for flash?
No. Compatible continuous fixtures can also use softboxes, provided the mount, thermal limits and manufacturer guidance support the combination.
What does a softbox grid do?
It reduces off-axis spill and helps control coverage. It does not focus light like an optical spotlight or automatically harden shadows.
Can a softbox remove reflections?
It changes their size and shape rather than removing them. Position the source and subject so reflections support the image instead of hiding important details.
Why is the background still bright?
Spill and room reflections may be reaching it. Adjust direction, subject separation, feathering or flags before assuming that lower power will solve the relationship.
Book a photo production
Studio and on-location photography for portraits, products, corporate teams and events.
Photo production