

Glossary: Photography
Fill light
Supplementary illumination used to control shadow brightness while preserving the main lighting direction.
Definition
Fill light is illumination used to raise the brightness of shadows created by the main light. It may come from a powered fixture, a reflector or existing room reflections, and it controls contrast rather than establishing the primary lighting direction.
How fill light works
When a key source illuminates one side of a subject, surfaces facing away from it receive less direct light. Fill adds illumination to those darker areas so that texture, colour and shape remain visible at the chosen exposure. It normally also reaches some already lit surfaces, so adding fill can change the total exposure as well as the shadow brightness. Review the whole image after each adjustment.
A reflector creates fill by redirecting existing light. Its effect depends on its size, surface, angle and distance from both the source and the subject. A powered fixture supplies its own light and can offer more independent control. Neither method is automatically superior. A reflector may be quick and natural, while a separate lamp may be easier to repeat when the main source or room conditions change.
Fill is often placed near the camera axis so that its shadows are less noticeable from the camera's viewpoint. This is a starting principle rather than a fixed rule. A broad source may wrap around the subject from another position, and pale walls may provide useful fill without dedicated equipment. Identify the illumination already present before introducing another source that could complicate the setup.
Why shadow control matters
Shadow brightness affects how much information the image carries. A portrait may need visible detail in the shaded eye, while a product photograph may need to show dark fabric or recessed controls. Fill can make those details readable without changing the key's direction. It is particularly useful when the final image will be displayed small or reproduced in a format where deep shadows lose subtle distinctions.
More fill is not always better. If both sides become similarly bright, the subject may lose depth and look disconnected from the intended mood. Conversely, very little fill can suit a graphic or dramatic image if essential information remains clear. Decide which shadow details are necessary and which can remain subdued. The goal is purposeful contrast, not a rule that every dark area must be opened.
Shadow softness and shadow brightness are different controls. A large key light may create soft transitions but deep shadows in a dark room. A small source can create crisp shadow edges while extensive room bounce keeps those shadows relatively bright. Use source size and direction to manage edge quality, then use fill or negative fill to manage the overall contrast relationship.
Reflectors, ratios and negative fill
White reflectors generally provide a broad, restrained return, while silver surfaces can produce a stronger, more directional reflection. Their actual effect still depends on geometry and size. Gold-toned surfaces introduce a colour shift that may be unwanted in neutral work. Test the reflected light on the subject rather than selecting a material only because its finish seems suitable for a particular genre.
Lighting ratios require clear definitions. A comparison of isolated source readings is not the same as a comparison between the lit side, which receives key plus fill, and the shadow side. If the team uses numerical ratios, state what was measured and where. For many practical sessions, a reference image and repeatable source measurements are clearer than a ratio quoted without its measurement method.
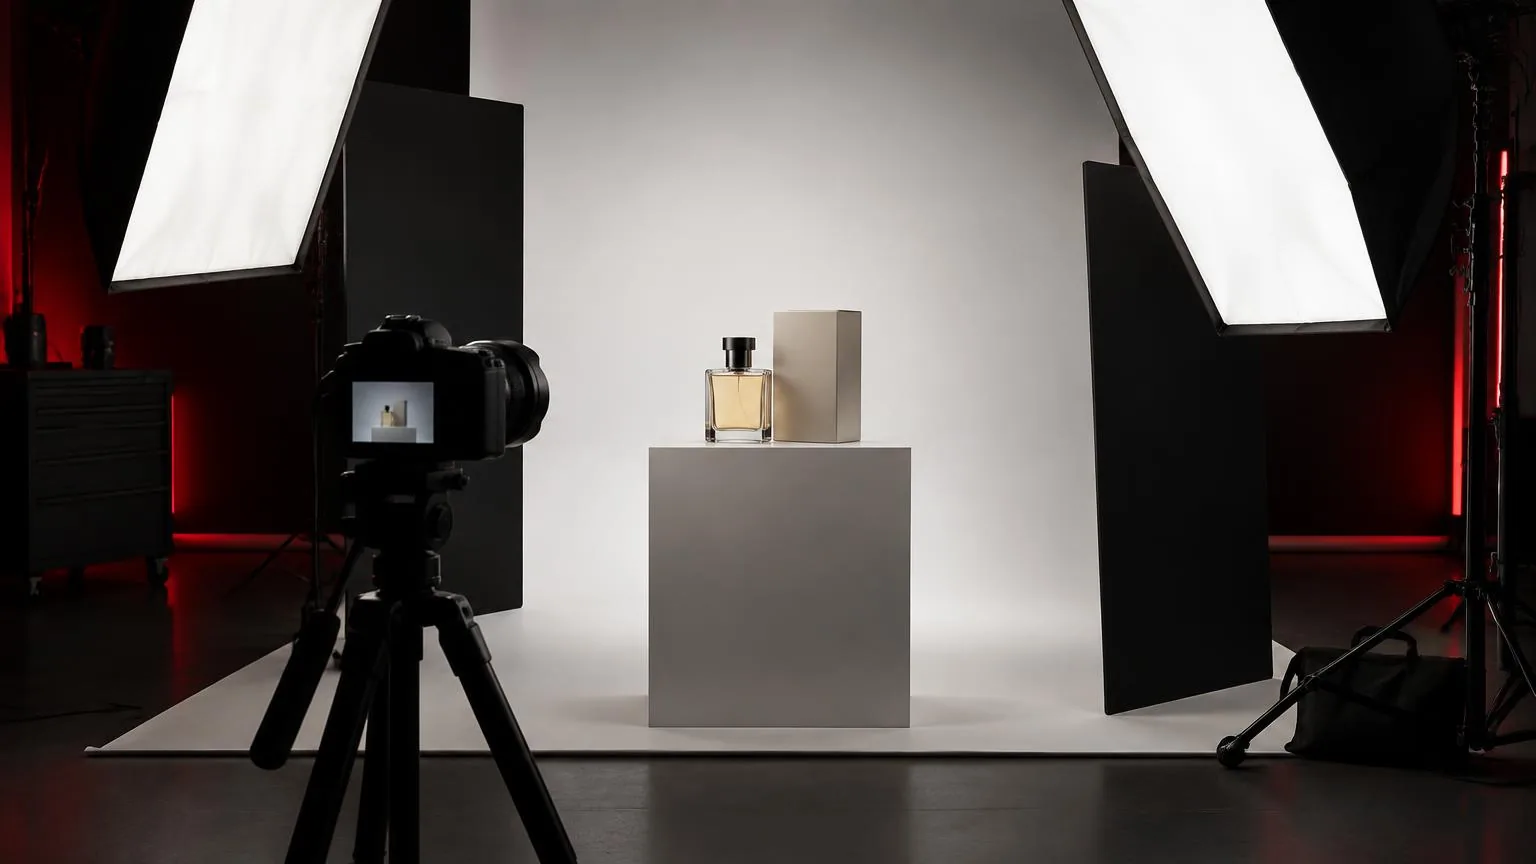
Negative fill does the opposite of adding illumination. A black panel or dark surface reduces unwanted reflected light, making shadows deeper and restoring shape. It is especially useful in small pale rooms where the walls already act as large reflectors. Moving the subject away from bright surfaces can have a similar effect. Try subtracting unwanted bounce before adding more fixtures to regain visual control.
A practical UAE portrait example
A photographer is making a headshot in an Abu Dhabi meeting room. A side window provides an attractive main direction, but the far eye appears too dark for a staff profile. The background and facial highlights already look suitable, so the photographer wants to raise the shadows without rebuilding the entire exposure. A white reflector is positioned on the shaded side as the first test.
- Capture a frame without added fill to establish the original shadow depth and highlight exposure.
- Angle the reflector until it returns useful window light toward the shaded cheek and eye.
- Move it gradually while checking that the effect remains natural and does not introduce an upward-looking highlight.
- If the reflector is insufficient, test a controlled low-output source through a softbox near the camera direction.
- Compare the filled frame with the baseline at the intended crop and display size before approving the balance.
If the room's pale walls already provide too much return, the same task may require negative fill instead. A dark panel on the shaded side can restore definition without changing the window. The correct solution follows the observed image. Fill is a relationship between sources, surfaces and the subject, not an obligatory second lamp in every portrait arrangement.
Common mistakes and final checks
Placing a strong fill far to the side can create a second visible shadow direction and compete with the key. This may be intentional in a stylised image, but it often looks accidental in straightforward portraits. Reduce its strength, broaden it or move it nearer the camera axis if the goal is unobtrusive shadow control. Check the nose, chin and background for newly introduced shadows.
Another mistake is using fill to compensate for a poorly placed key. If the main light leaves both eyes empty or creates an unsuitable nose shadow, adjust the key first. Excessive fill may hide the symptom while flattening the entire face. Likewise, brightening shadows globally in editing cannot recreate missing directional detail or undo noise from a severely underexposed area.
Inspect colour as well as brightness. A warm wall, coloured reflector or mismatched fixture can contaminate only the shaded side, making a single colour adjustment ineffective. Check catchlights, glasses and glossy surfaces for new reflections. For product photography, ensure fill has not erased useful texture or material differences. Record the approved arrangement so its contrast can be maintained across the required views.
Frequently asked questions
Does fill light have to be a second lamp?
No. Reflectors, walls, ceilings and other surfaces can return enough existing light to act as fill.
Where should fill be placed?
Near the camera direction is a useful starting point because its shadows are less conspicuous. Adjust for the subject, room and intended result.
How much fill should I use?
Use enough to reveal necessary detail without losing the desired modelling. Compare a baseline and a filled test at the final viewing size.
What is negative fill?
Negative fill reduces reflected illumination, usually with dark material, so shadows become deeper. It is useful when existing bounce makes the subject look flat.
Can fill light change skin colour?
Yes. A coloured reflector or mismatched source can tint the areas it illuminates. Use neutral materials or deliberate colour matching when natural reproduction matters.
Book a photo production
Studio and on-location photography for portraits, products, corporate teams and events.
Photo production