

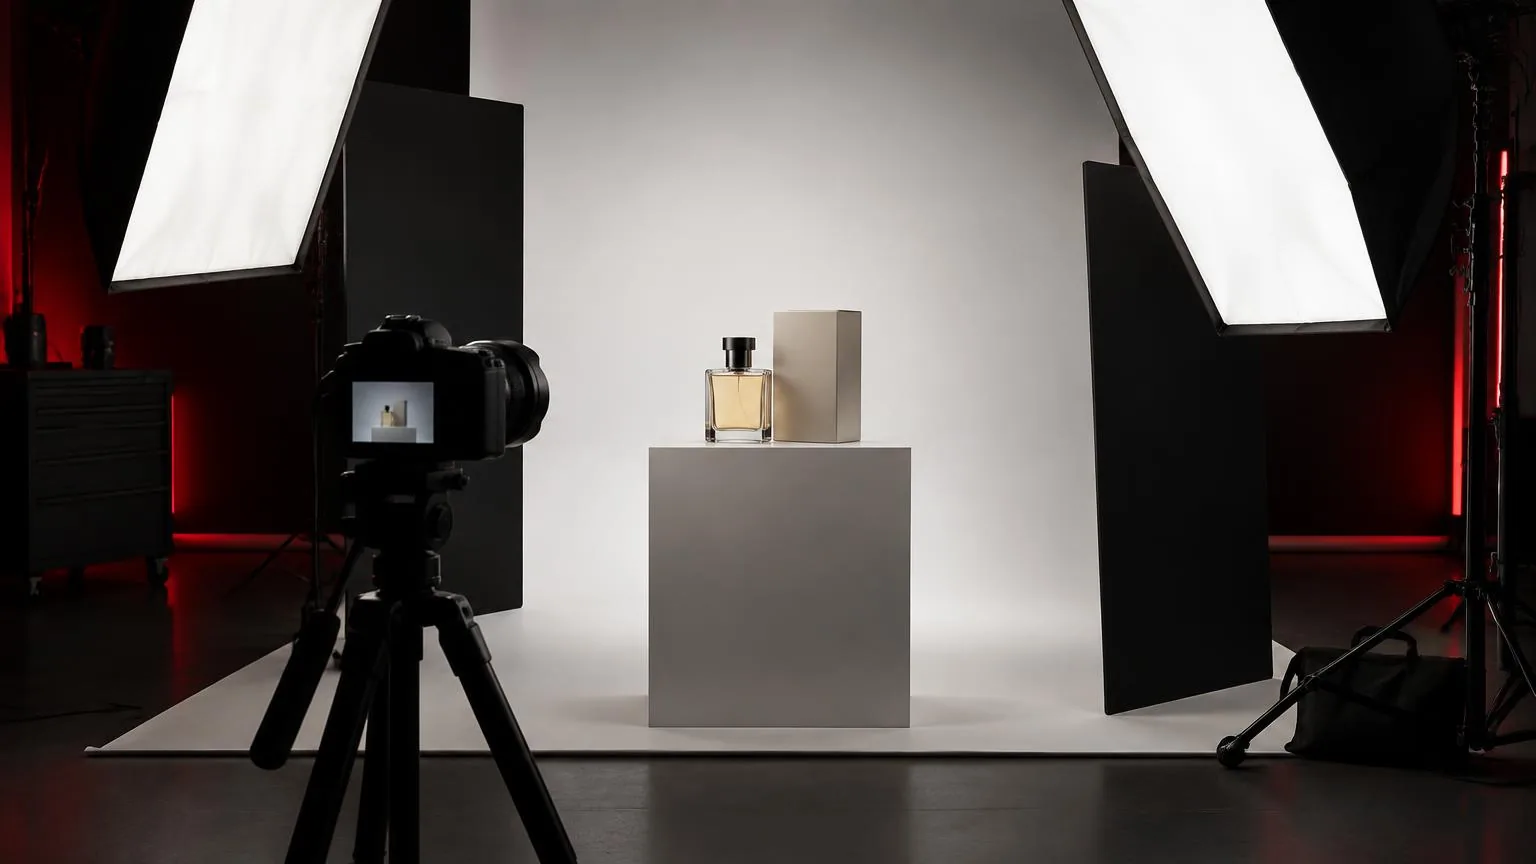
Glossary: Photography
Key light
The principal light that establishes a subject's dominant illumination and visual shape.
Definition
The key light is the principal source used to establish a subject's dominant illumination, direction and modelling. It may be a studio fixture, window or other available source, and its role depends on the image rather than on a particular type of equipment.
How the key light works
A key light gives the viewer a primary sense of where light comes from. Its position determines which surfaces face the source, which turn away and where the main shadows fall. In a portrait, it describes the nose, cheeks and jaw. On an object, it reveals shape through highlights and gradients. Establish that direction first, then decide what other illumination the image genuinely needs.
The key does not have to be the brightest visible object or the only source affecting the subject. A lamp in the background may appear brighter in the frame, while a separate source still provides the main facial modelling. Likewise, a window can act as the key without any powered fixture. Naming a source by its role helps the team discuss its purpose independently of its hardware.
Build the lighting relationship through observation. With controlled equipment, inspect the key alone before adding other sources. With available light, identify the dominant direction and move the subject or camera to use it. Watch the resulting shadows instead of judging only the source's physical position. The same light can create very different effects as the subject turns or changes distance.
Why direction and quality matter
Key direction guides attention and communicates form. Light near the camera axis can give a clear, relatively even view, while a side position creates stronger visible modelling. A high source may feel natural in some contexts but can leave eyes dark if placed too steeply. There is no universal angle that flatters every face or explains every product. Evaluate the specific subject and intended impression.
Quality describes properties such as shadow softness and highlight behaviour, not whether the lighting is good or bad. A broad softbox can create gradual transitions, while a small source can define a crisp graphic shape. Either may suit the brief. A polished object also reflects the key's visible surface, so source size and shape affect the highlight design as well as the shadows.
A clear key direction helps multiple images feel related. For a team portrait series or product collection, matching that direction often matters more than using identical power settings. Different subjects absorb and reflect light differently, and small adjustments may be necessary. Use a reference frame to preserve the intended visual language while allowing exposure and positioning to respond to the actual person or material.
Balancing the key with other light
Once the key gives the desired shape, inspect the shadows. If important information disappears, fill light or a reflector can raise their brightness. If the image already looks flat, adding fill is unlikely to help. Reduce unwanted room reflections, adjust the key direction or introduce negative fill instead. Shadow depth and shadow-edge softness are separate properties and should be adjusted deliberately.
Ambient light may already contribute substantially to the exposure. In a window-lit room, ceiling fixtures and reflected daylight can change the contrast or add unwanted colour. For conventional flash photography, shutter speed within the camera's normal synchronisation limits mainly controls the ambient contribution, while aperture and sensitivity affect both flash and ambient capture. Test the complete balance rather than treating flash power as the only adjustment.
Check colour relationships before adding complexity. A daylight-balanced key and warm room lamps may create a useful separation, or they may produce distracting mixed tones across the subject. Set a deliberate white balance and consider source correction where appropriate. A background accent or rim source should support the established direction without accidentally becoming a competing key on the face.
A practical UAE headshot example
A photographer is making professional portraits in a Dubai office with a large window and overhead room lighting. The first decision is whether the window will serve as the key or be reduced so a controlled fixture can establish a consistent look. Because several portraits must match through the afternoon, the team chooses a controlled key and limits changing daylight where practical.
- Place the key to create a clear facial direction, then check eye visibility and the nose shadow in a test frame.
- Choose a source size and distance that produce the desired transition between the lit and shaded cheeks.
- Assess room reflections before adding another source, since pale walls may already provide sufficient fill.
- Check the subject's expected head movement so that minor turns do not create distracting shadows or reflections.
- Record an approved reference and recheck it when daylight, subject position or camera framing changes.
The key may need small adjustments for glasses, different face shapes or a seated participant. Those changes should preserve the overall direction and contrast rather than force an exact equipment position. A successful series looks coherent because the lighting intention stays consistent, not because every person is required to occupy an identical relationship to the stand.
Common mistakes and reliable checks
A frequent mistake is adding multiple lights before understanding the first one. Overlapping sources can hide which fixture causes an unwanted shadow or reflection. Return to the key alone when troubleshooting, then restore the others one at a time. This makes it easier to identify whether the problem comes from source direction, subject movement, background spill or an unrelated reflection in the room.
Another mistake is equating key strength with an equipment power percentage. Distance, modifier efficiency, angle and the subject's surface all affect the recorded result. A fixture set to a lower numerical value may still dominate the image. Judge the captured highlight and shadow relationship, and use a meter where it supports repeatability. Do not compare unrelated fixtures solely through their displayed output settings.
Before final capture, inspect important highlights for clipping, confirm the focus area and check that the key remains stable throughout the required poses. Keep stands and cables outside movement routes and follow the fixture's operating guidance. In product photography, include label readability and reflection placement in that review. The key succeeds when it explains the subject clearly, not merely when it looks dramatic.
Frequently asked questions
Is the key light always a studio lamp?
No. A window, reflected sunlight or another available source can act as the key if it establishes the subject's main illumination.
Must the key be placed at a fixed angle?
No. Familiar angles are useful starting points, but the subject, pose, surfaces and intended look determine the most effective position.
Can one light be enough?
Yes. A single key plus existing reflections can create a complete image. Add sources only when they solve a specific visual problem.
Is the key always brighter than the fill?
It normally establishes the dominant modelling, but quoted ratios depend on measurement methods. Assess the actual facial or object contrast instead of relying on an unexplained number.
Why do the eyes look dark?
The key may be too high, too far to the side or blocked by facial structure. Adjust its position and review before adding more power.
Book a photo production
Studio and on-location photography for portraits, products, corporate teams and events.
Photo production