

Blog / Uncategorized
Live Sound Basics: Signal Flow, Gain Staging and Digital Mixers
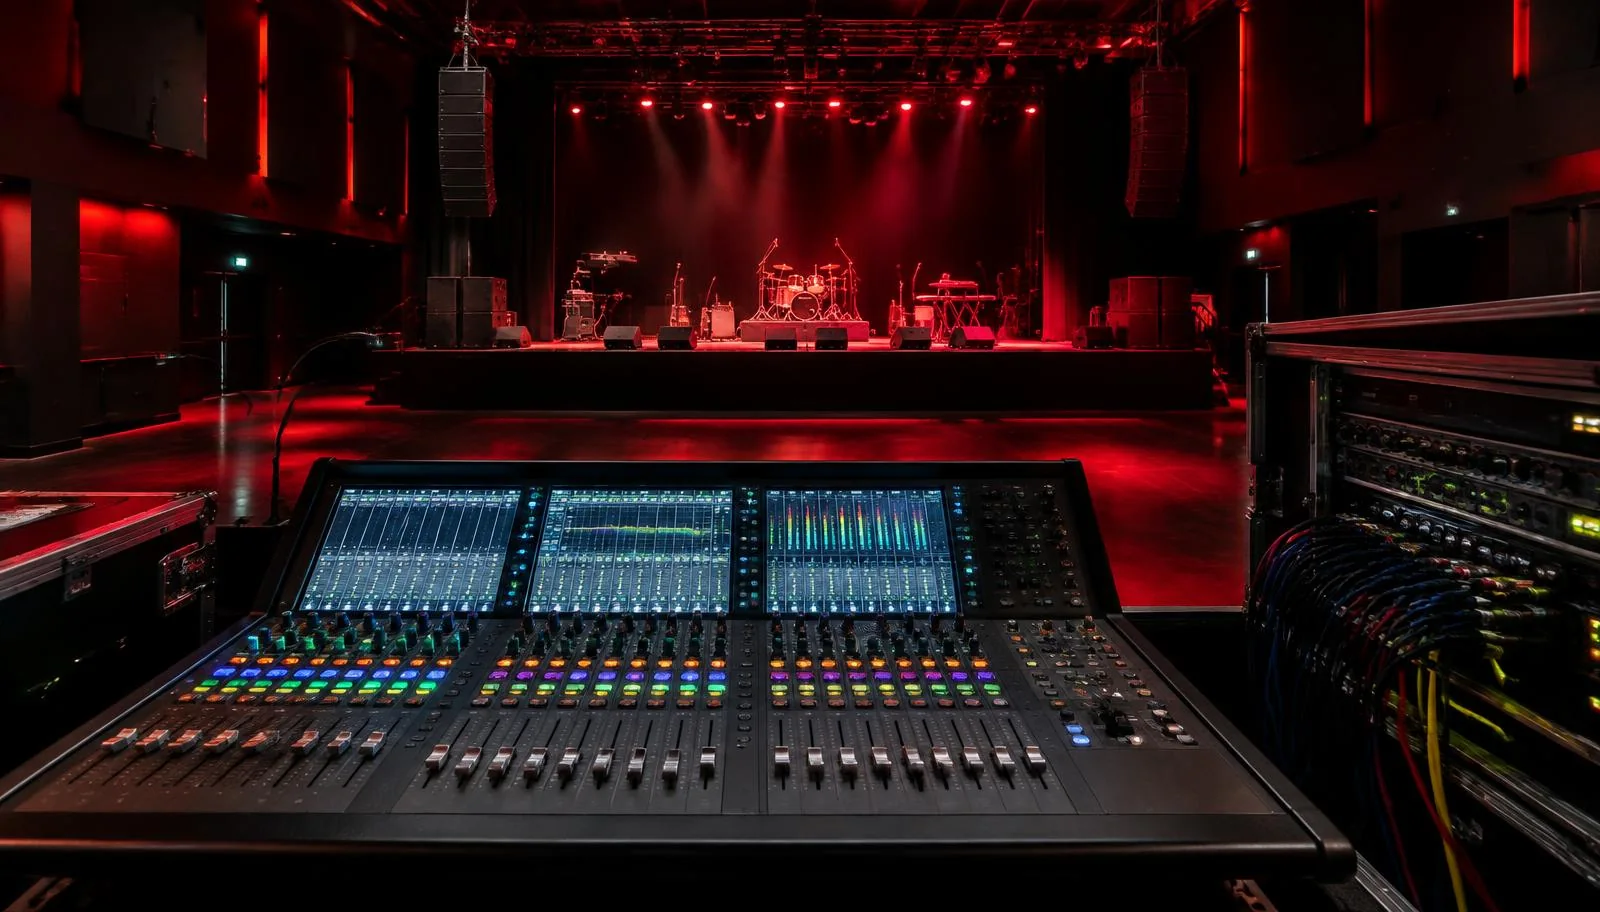
Live sound mixing begins with a simple question: where does each signal go? A microphone sends sound through a cable and stage connection to a console, where the engineer sets input gain and builds separate mixes for the audience and performers. The signal then reaches processors, amplifiers or powered speakers. Understanding that path makes a digital mixer less intimidating and makes faults easier to locate. Gain staging keeps every part of the path at a useful level without clipping or burying the sound in noise.
Trace the signal from the stage
Start with one singer and one microphone. The microphone converts acoustic sound into an electrical signal that travels through a cable, often to a stage box. From there it reaches the console's input. An engineer assigns the input to a channel, sets the preamp level and routes it to a main mix for the room. The console's output travels onward to the loudspeaker system. If you cannot hear the singer, inspect each link in this order instead of immediately turning up every fader.
Instruments can enter the system differently. A bass guitar might pass through a DI box before reaching the console. A keyboard may provide two outputs for a stereo feed. A guitar amplifier might be captured with a microphone. Each choice changes what the engineer controls and what can fail. Draw a simple diagram for every source: source, connector, stage box, channel, mix bus, output and speaker. The diagram is more useful than memorizing the layout of a single console model.
What gain staging means

Gain staging is the practice of setting sensible signal levels at each point in the chain. An input that is too quiet may need excessive boosting later, which can bring up noise. An input that is too hot may distort before it reaches the channel fader. Ask a performer to sing or play at normal show intensity and watch the input meter. Set the preamp so the loudest expected passages have room above them rather than hitting the clip indicator. The exact meter reading depends on the console and its reference scale.
A fader controls the channel's contribution to a mix; it does not repair a clipped microphone preamp. If the input is already distorted, lowering the fader only makes the distortion quieter. Similarly, raising the main output cannot recover a weak source buried earlier in the chain. Check gain at the source, input and output in sequence. Digital consoles can store settings, but a saved gain level is not a substitute for checking the actual performer and microphone at today's show.
Separate front of house and monitor mixes
The audience hears the main front of house mix. Musicians may hear one or more monitor mixes through stage wedges or in-ear monitors. These mixes serve different purposes. A singer may want more of their own voice on stage even when the audience already hears it clearly. On a digital mixer, auxiliary sends or mix buses route channels to these separate outputs. The engineer must check which bus is going to which monitor; a wrong assignment can give a performer an unusable mix while the main speakers sound fine.
Be clear about whether a send changes when the channel fader moves. Depending on the console setup, a monitor send may be taken before or after the main fader. If it is after, a change for the audience can also change the performer's monitor. If it is before, the monitor may stay steady while the room mix moves. Understanding this choice prevents an engineer from accidentally removing a singer's vocal from their wedge while adjusting the front of house balance.
Build a channel on a digital mixer
Select a source and confirm that the console's channel label matches the physical input. Set preamp gain while the source plays at performance level. Check any high-pass filter where appropriate, then establish a basic balance using the fader. Add only the processing that solves an audible problem. Equalization can reduce a muddy frequency range or help a vocal remain intelligible, but large changes may indicate a microphone-placement or stage-volume issue instead. Compression can manage dynamics, but excessive compression can make feedback or noise more noticeable.
Next route the channel to the main mix and any needed monitor buses. Verify each output at a safe level. Assigning a channel to the wrong bus is a common reason a source appears on a meter but cannot be heard where it is needed. Digital mixers make these routes flexible and sometimes hard to see. Label channels and buses for other engineers.
Read meters without mixing by sight
Meters show where signal exists and whether a stage may be overloaded. They cannot tell you whether a voice is understandable in the room or whether a drummer can hear a cue. Use them to confirm inputs, avoid clipping and compare levels when diagnosing a fault. Then listen from a useful location and ask performers what they hear. A meter moving on an input channel does not prove that the channel is assigned to the main speakers, and a main bus meter does not prove that the loudspeaker amplifier is receiving a signal.
During a live performance, dynamics change. A singer may step closer to the microphone or a drummer may play harder than during soundcheck. Leave headroom for those changes. Avoid chasing every meter movement with a fader; follow the musical balance instead. If the room becomes harsh, consider whether an instrument amplifier or wedge has changed before applying heavy equalization to the audience mix. Mixing is a listening task supported by measurement, not replaced by it.
Handle feedback and stage volume
Feedback occurs when amplified sound returns to a microphone and is amplified again in a loop. Wedges aimed into a microphone's sensitive area, loud stage amps and high monitor levels can all contribute. First identify which microphone and output are involved. Lower the relevant level enough to stop the ringing. Then inspect speaker placement, microphone direction and the stage sound before using narrow equalization where appropriate. Simply lowering every channel can make the show quieter without addressing the loop.
Gain before feedback is influenced by the geometry of the stage as well as the console settings. A singer standing too far from their microphone may ask for more monitor level, which can increase the risk. Encourage consistent microphone technique and practical speaker positioning. On a crowded stage, small physical changes can be more effective than an elaborate processing chain. Never make sudden large monitor changes while a performer is wearing in-ear monitors.
Follow a repeatable troubleshooting path
When an input stops working, ask where the signal last appeared. Does the source itself produce sound? Is there a reading on the console's input meter? Does it reach the assigned bus? Is there level on the output? Test one connection or setting at a time. If a keyboard has two outputs and only one side is missing, focus on that side of the path. If all microphones disappear from the room at once, a shared bus or output deserves attention before replacing individual microphone cables.
Keep spare cables and a current input list available, but use them deliberately. Swapping several items at once makes it hard to know what fixed the fault. Tell the stage crew what you are testing. If a fix affects the performers' monitors, notify them before changing the routing.
Practise with a real stage setup
Begin with a single microphone, then add an instrument, a monitor mix and finally a full band. Trace each signal before touching the controls. Repeat with a muted bus or disconnected input and locate the break using meters and listening. This method transfers between console models. Presets cannot tell you whether today's stage is patched as expected.
BarCoe Studios offers a Live Sound Workshop for Audio Engineers with hands-on stage training in Abu Dhabi. The course page describes the current schedule, topics and waitlist. For a beginner, the most useful goal is not learning every menu on a digital mixer at once. It is being able to trace a source from stage to speaker, set safe working levels and explain a fault clearly to the rest of the crew.
Frequently asked questions
What is signal flow in live sound?
Signal flow is the route sound takes from a microphone or instrument through connections, console inputs, mix buses and outputs to speakers or monitors. Tracing that path helps locate missing or misrouted audio.
What does gain staging do?
It sets useful levels at each point in the signal path so quiet sources are not buried in noise and loud peaks do not overload an input or output. Start with the performer at realistic show volume and allow headroom.
Can lowering a fader fix a clipping microphone?
Not if the signal already clipped at the input preamp. The fader changes the level sent to the mix but does not remove distortion created earlier. Inspect the input gain and source level first.
How are monitor mixes different from the audience mix?
The audience mix balances sources for listeners in the room. A monitor mix sends the sources each performer needs to wedges or in-ear monitors, often through separate console buses and outputs.
Where should I start learning a digital mixer?
Trace one microphone from the stage to its console channel, main bus and loudspeaker, then set input gain and build a simple monitor send. Understanding those routes transfers between console models better than memorizing one menu.
Put signal flow, gain staging and digital mixer routing into practice in the Live Sound Workshop for Audio Engineers.