

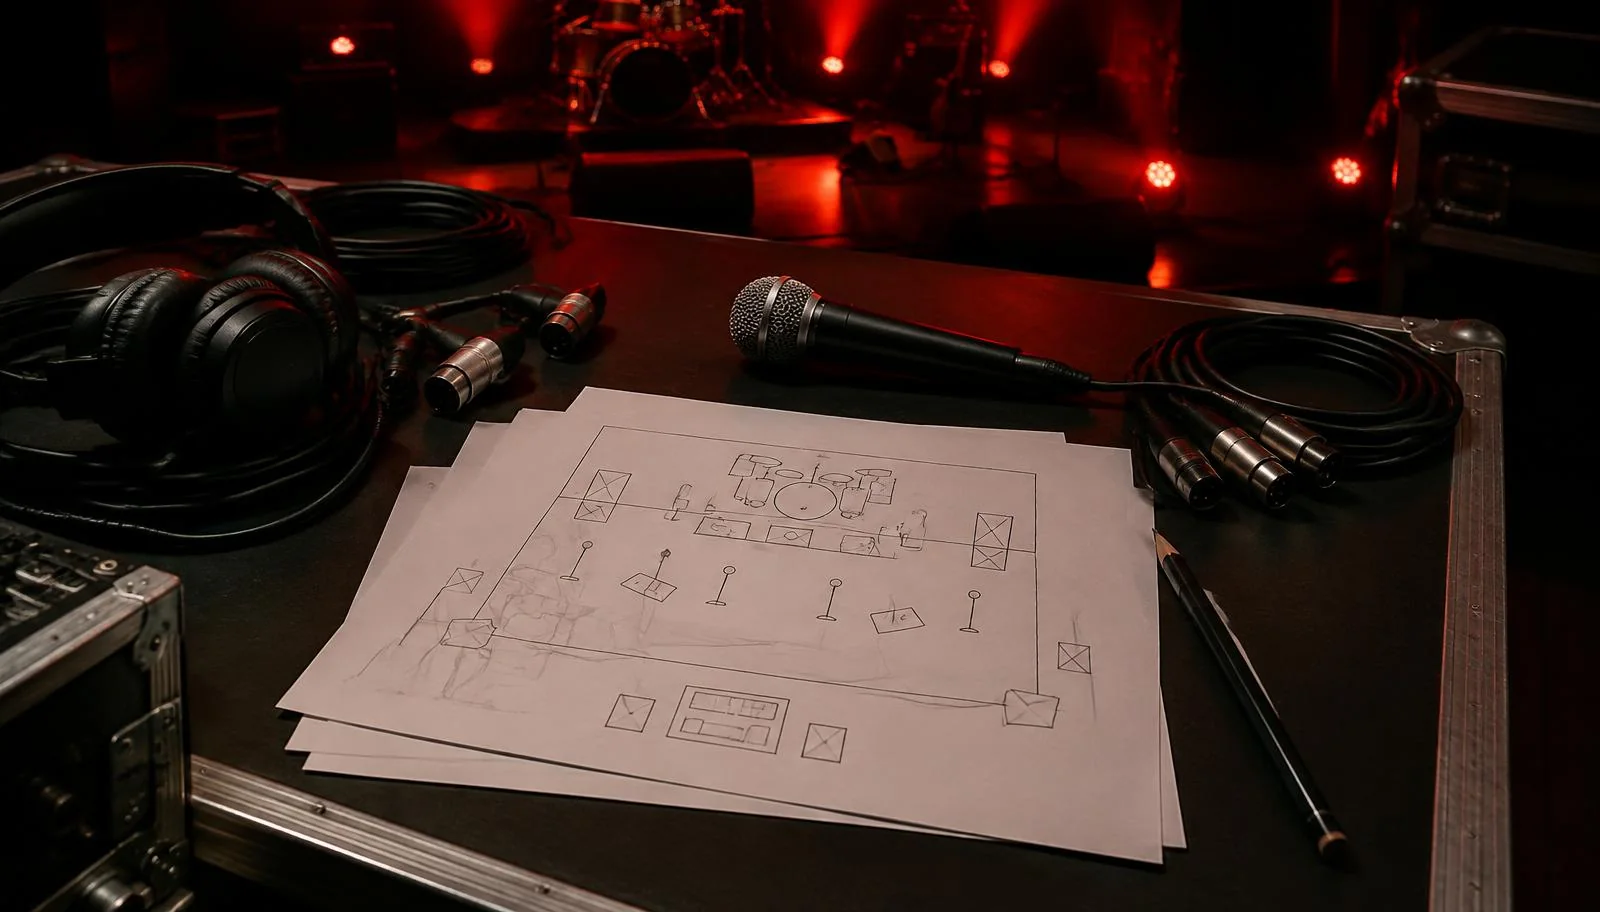
Blog / Uncategorized
How to Write a Tech Rider and Stage Plot That Sound Engineers Love
A useful tech rider tells a venue what a performance needs, while a stage plot shows where performers and equipment go. Together they allow the sound engineer to prepare an input list, microphones, DI boxes, monitors and a workable stage layout. The best documents are specific, current and easy to scan. They do not need to look impressive. They need to describe the actual show the band is bringing, including any changeovers or substitutions that could affect the crew.
Start with the version of the show you actually play
Before drawing anything, count the people, instruments and playback sources that will be on stage. Include guests who perform on only one song. Note whether a keyboard has two outputs, whether a bass uses an amp or a DI and whether the singer moves between instruments. Ask every musician to check their own part of the list. An old document that names a former band member or omits a new playback rig forces the engineer to redo the plan on arrival. Keep a version date and a direct contact for questions at the top of the document.
Describe what you will supply and what you need the venue to supply. If you bring your own microphone, stand or in-ear system, say so, and state what connection the house must provide. If you need the venue's equipment, make that a request rather than assuming a particular model will always be available. There is nothing wrong with a preferred setup, but mark alternatives that would also work. That gives the production team room to solve the same problem with the resources it actually has.
What belongs in a technical rider?
Keep the performance essentials near the top: band name, contact, show length, lineup, stage space and basic electrical needs for your own gear. Add an input list, monitor requirements, stage plot and relevant playback details. Include any special cues, instrument changes or speaking microphones. If there are safety or accessibility requirements for performers, communicate those clearly through the event organizer. A tech rider can contain hospitality and logistical information in other contexts, but do not bury the audio requirements beneath pages of unrelated requests.
Write in plain language. “Two vocal microphones at the front, one at stage left and one at stage right” is clearer than a paragraph about the band's sound. Use numbers consistently across the rider and plot. If the input list says “Vocal 2,” label that person's position on the stage drawing. For a complex setup, divide requirements into “essential” and “preferred.” The engineer can then identify what must be solved before the show and what can be adjusted at soundcheck.
Create an input list the engineer can patch
An input list is a table of sources and the connections they need. One row might say “Kick drum, microphone, short stand”; another might say “Keyboard left, DI, player-supplied cable.” List the right keyboard output on a separate row if you need stereo. Add the performer's position and a short note for any unusual connection. Do not choose microphone models unless there is a real reason to specify them. A venue engineer may have an equally suitable option and needs to know the source first.
Organize channels in a sensible order, for example drums, bass, guitars, keys, playback and vocals. A familiar order speeds up the line check, though the venue may use its own console layout. Avoid calling one source “spare” if it becomes essential halfway through the show. If you use tracks, identify whether the feed is mono or stereo and how a click is kept out of the audience mix. These details let the engineer plan enough channels without guessing what a single playback laptop is meant to deliver.
Draw the stage plot from the audience's perspective
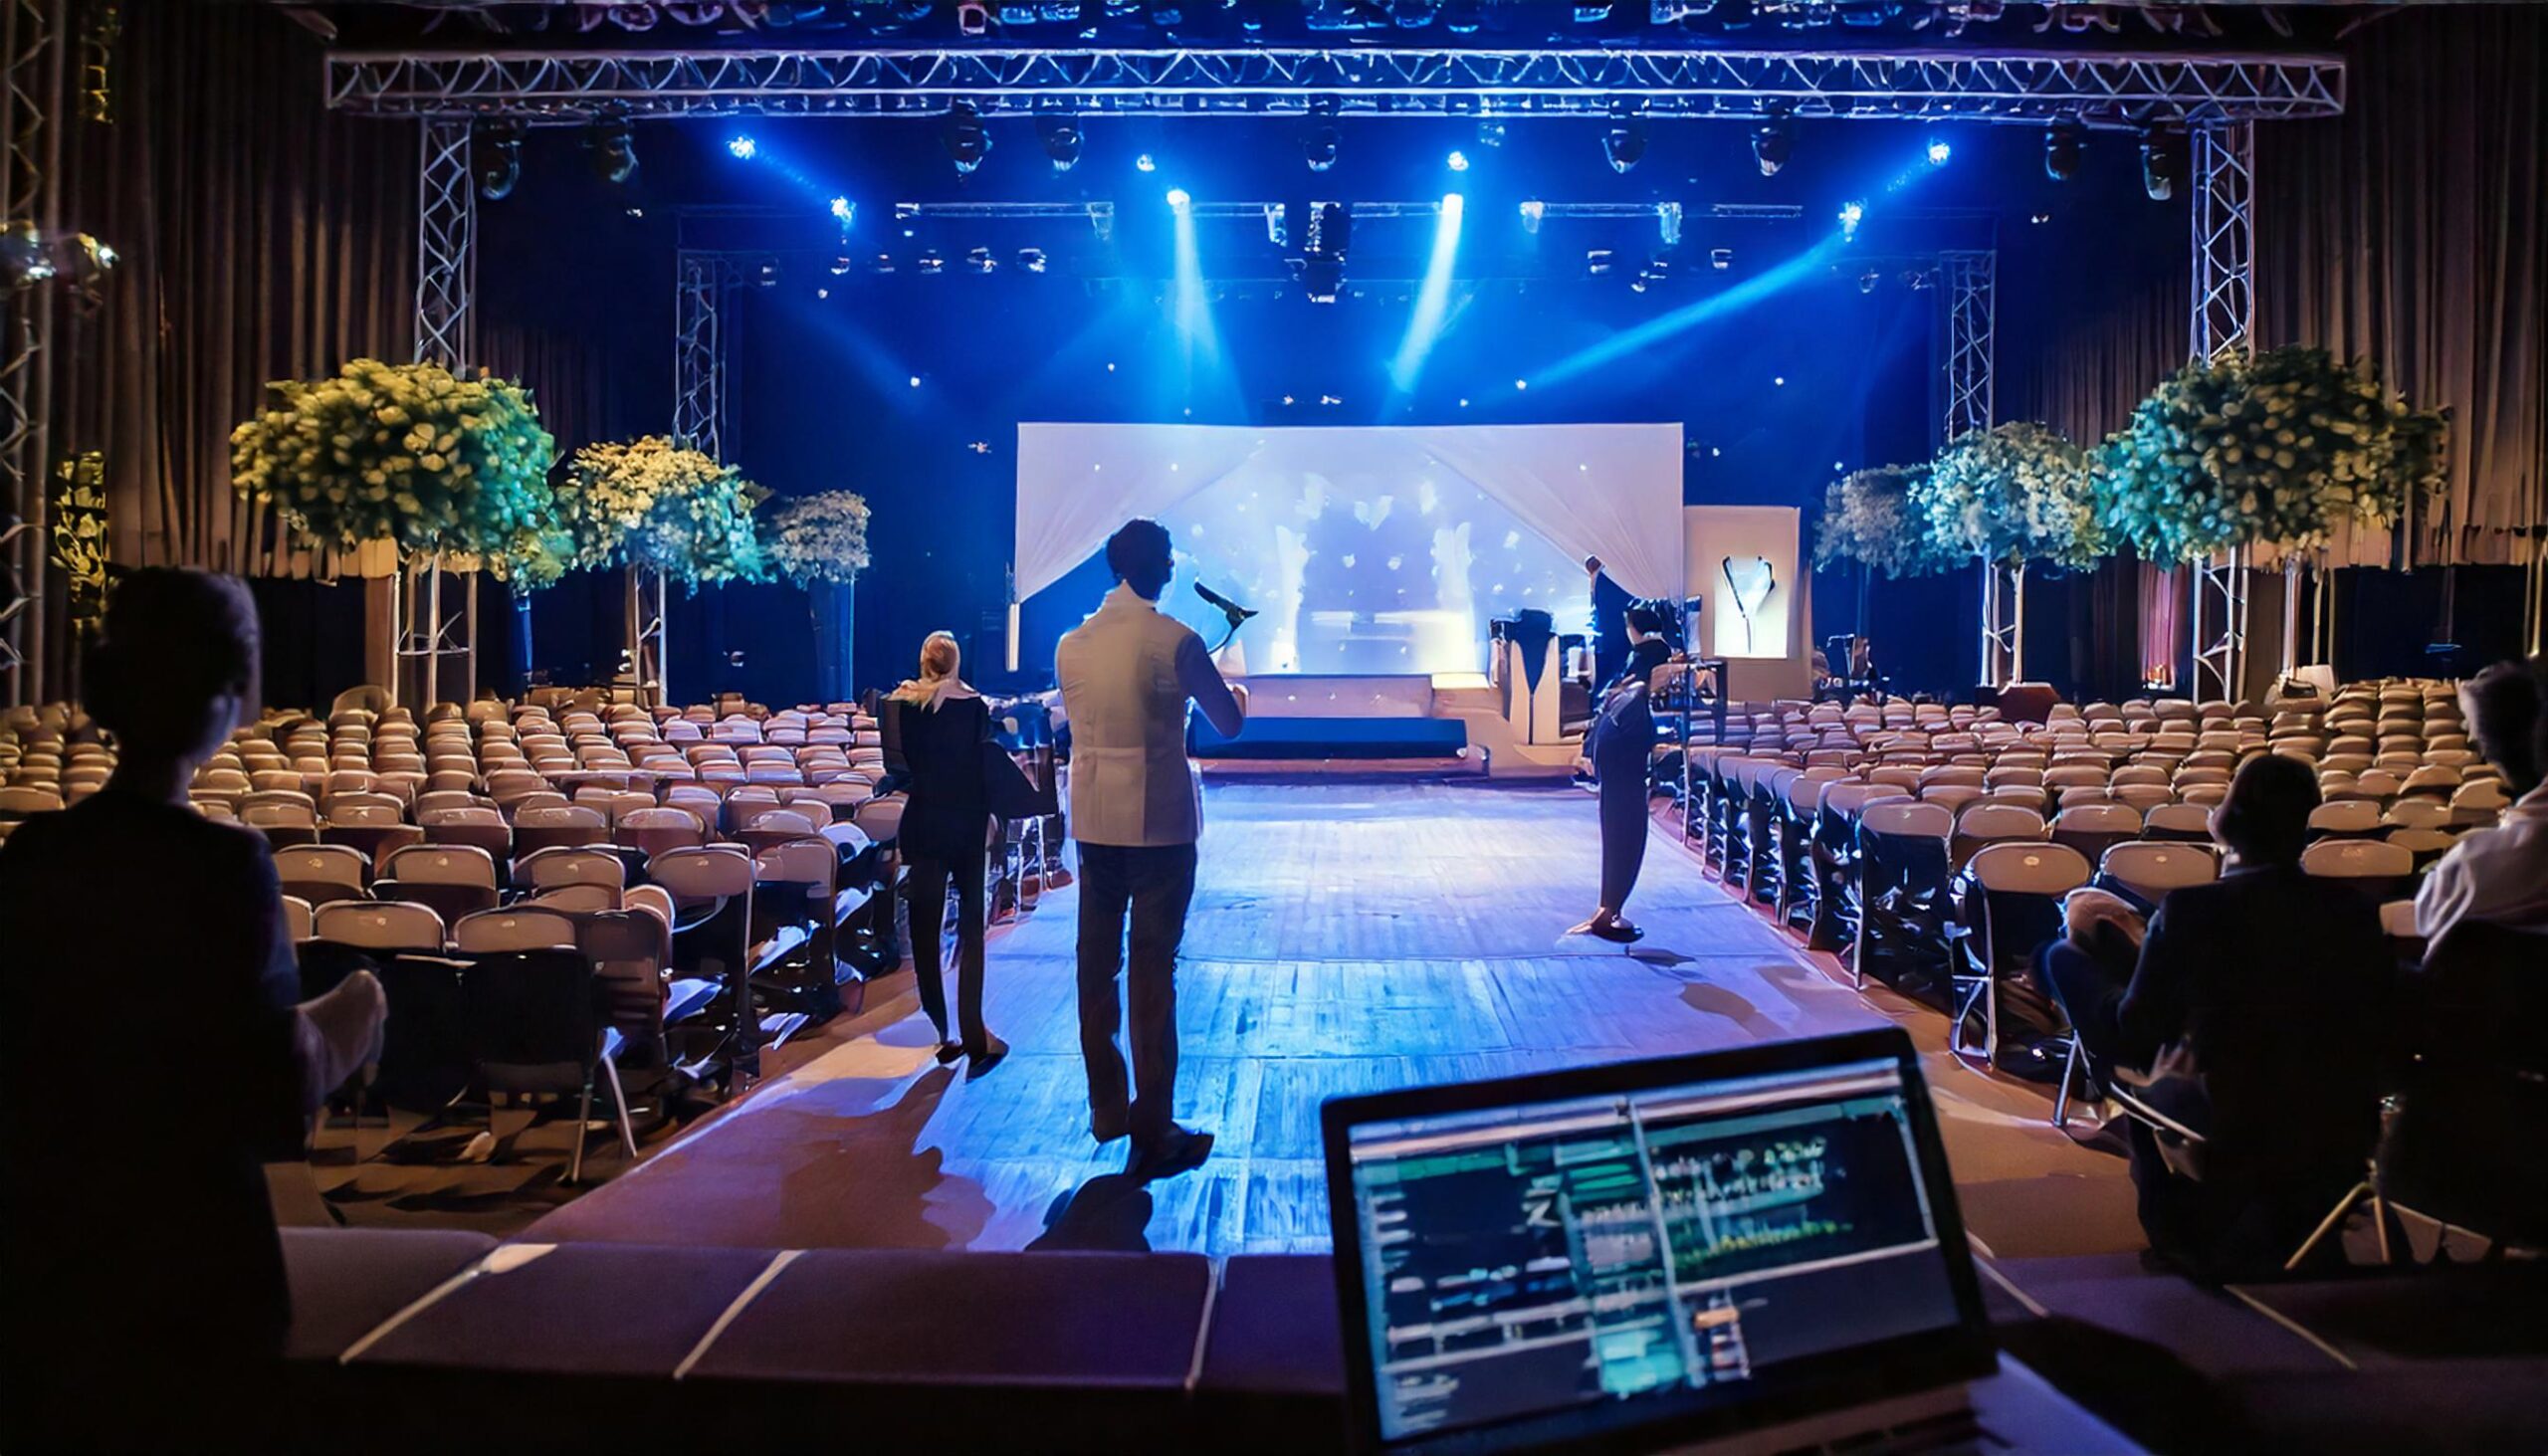
Mark the stage edge and label stage left and stage right from the performer's point of view. Put each performer, instrument, amplifier, vocal microphone and monitor where it will actually sit. Arrows can show a performer who crosses the stage. A rough diagram is enough if it is readable at a glance; a beautiful illustration that hides cables and monitor positions is less useful. If there is a drum riser, keyboard stand, percussion table or unusually large piece of equipment, show its footprint.
Do not assume the room has unlimited space. Give approximate dimensions for large setups, and identify items that can move if the stage is smaller than expected. For shared bills, tell the organizer which equipment must remain set up during a changeover. A clear plot helps the crew decide where to route cables so musicians can move safely. It also helps the monitor engineer place wedges without pointing them directly into sensitive microphones.
Describe monitor needs without guessing the venue's system
List how many separate mixes are useful and who needs each one. “Lead singer: own vocal, kick and guitar” tells the engineer more than “four monitors.” If two performers share a mix, state that. If the band brings in-ear monitors, say whether you bring the transmitters and receivers or only earpieces, and whether you require a feed from the venue. Explain who operates the monitor mixes during the show. A venue may have wedges, in-ear outputs or both, so distinguish an essential monitoring requirement from a preferred method.
Monitor requests are a starting point, not an exact balance written in advance. Players should still listen and communicate during soundcheck training for artists and at the venue. Once on stage, make specific requests such as more keys in the drummer's mix. If feedback appears, let the engineer adjust placement or levels rather than trying to solve it by demanding more volume from every wedge. The rider gets the right equipment into position; the soundcheck makes that setup usable.
Make the document easy to work from
Export a single readable PDF so formatting does not shift between devices. Give it a filename containing the band and version date. Put the stage plot next to the input list or on an adjacent page. Use large enough labels for someone checking it on a phone beside the stage. Avoid unexplained abbreviations and make sure no information depends on color alone. Before sending, have someone outside the band try to locate the lead vocal, count all required inputs and identify the contact person. If they cannot, simplify the document.
Send the rider to the actual production contact, not only to a general booking address, and ask whether it reached the house engineer. Do not send a revised version hours before doors unless the setup has genuinely changed. If it has, highlight the difference. Keep a copy available offline on show day. A printed version is useful when a device has no connection or its battery fails. Clear revisions respect the crew's preparation and reduce the chance of a surprise at the line check.
Work through a small-band example
Imagine a singer, guitarist, bassist and drummer. The plot shows the drum kit upstage center, bass stage left, guitar stage right and singer downstage center. The input list specifies drum microphones as agreed with the house, bass DI, guitar microphone and lead vocal. If the bassist sings backing vocals, add a separate vocal channel and microphone position. The monitor notes identify who needs their own mix. If the guitarist changes to acoustic halfway through, include that input now rather than asking the engineer to find another DI during the set.
Review the example against the band's real performance. Does anyone use a click or a playback device with multiple outputs? Where does the singer stand during instrumental breaks? Would a wedge block the path offstage? These questions are easier to answer before the stage is built. The rider should reflect the show accurately.
Update after each show
After the performance, note what the crew had to clarify. Perhaps the keyboard needed another DI, or a wedge was badly positioned. Correct the master document before the next booking. A good tech rider evolves with the band. It remains a practical agreement between performers and production, not a list of demands. When both sides can picture the same stage, more time is left for music.
Frequently asked questions
What is the difference between a tech rider and a stage plot?
A tech rider lists the show's technical requirements, including inputs, monitoring and equipment needs. A stage plot is the diagram within or alongside it that shows where performers, instruments, stands and monitors belong.
What should be on an input list?
Include every microphone or instrument source, its position, connection and any important note, such as a stereo keyboard, DI or playback click. Give each source its own row so the crew can count channels and prepare a line check.
Do I need a professionally designed stage plot?
No. A simple, legible sketch is enough if it identifies stage left and right, performer locations, instruments, vocal microphones, monitors and large equipment. Accuracy matters more than visual polish.
When should a band send its rider?
Send the current version to the production contact ahead of the performance, allowing time for questions and alternatives. If a lineup or instrument changes later, highlight the revision rather than silently sending a different file.
Should a rider specify exact microphone brands?
Specify a model only when it is genuinely necessary. Usually the engineer needs to know the sound source and technical connection, and can choose a suitable microphone from the venue's inventory.
Practise stage plots, tech riders and communicating with sound engineers in the Live Sound Workshop for Artists.